A Dirtbags Guide to Backpacking in Lofoten

There are three things every good adventure needs:
Combine these elements together, and you’ll earn one hell of a story to share with friends over drinks at the bar once back at home.
For Emily Mannisto and I, our recent trip to Norway was quite the adventure.
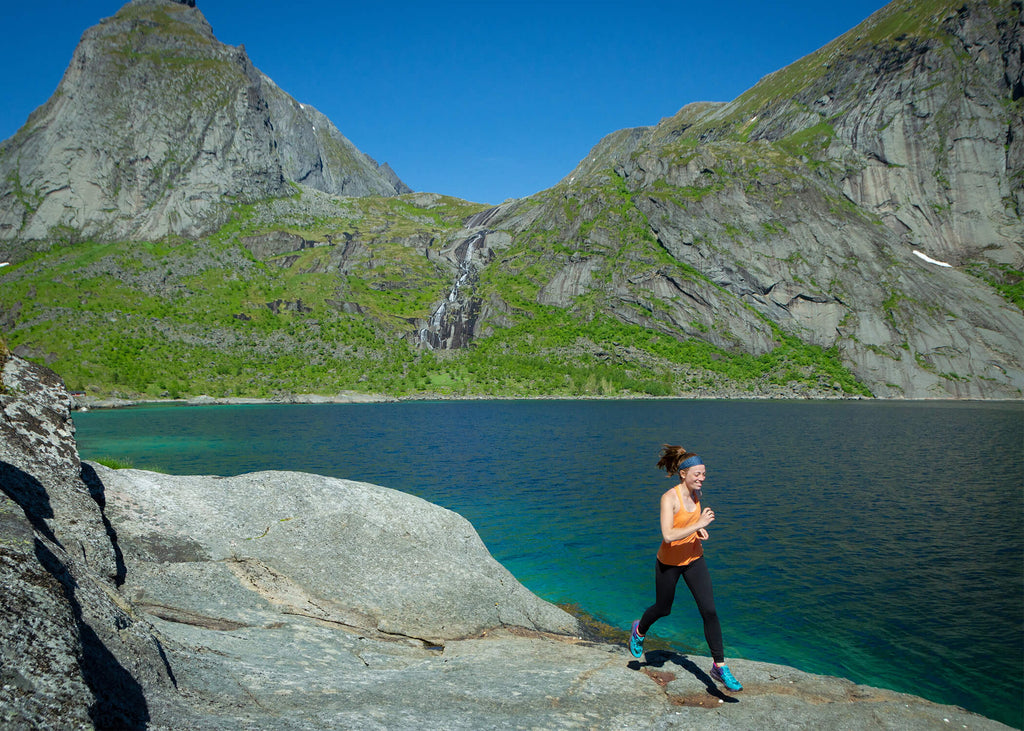
But let’s back up and review a few things. Like, for starters, Emily and I are what one may call “dirtbags.” At any given time, we each juggle about three to four jobs to afford living in the beautiful Pacific Northwest. On weekends, our plans to unwind typically include alpine climbs, backcountry ski lines, or more recently, muddy training runs for our first 50k trail race.
Really, neither of us thought about our financial ability to travel to Norway. The trip came about because I stumbled upon roundtrip flights for less than $500. How could we pass that up?! Yet as the departure date inched closer, we both became aware of how ill-prepared our bank accounts were for visiting one of the most expensive European countries.
And so, our dirtbag itinerary to Lofoten was hatched. If you enjoy being comfortable, abhor sleeping outside, and hate the idea of going multiple days without showering - this blog post is not for you.
This is for my fellow dirtbags. The ones who think the best way to see a country is by foot, the ones who find cowboy camping to be the best sleep of their lives, and for whose spectrum of Type-2 fun is constantly surprising them.
Know Before You Go
For starters, I shall share my secret to booking absurdly cheap flights because, well, it’s the first question people seem to ask. In my freetime, I daydream about far off locations and use Kayak.com to see how much it might cost to travel there. When selecting dates, the website will have small green dots indicating cheaper flight days. But you probably already knew that. The extra special trick is to then adjust your dates to being flexible +/- 3 days. What this does is gives you a matrix grid of prices! Therefore, you have a big picture view for getting the most stellar deal.
My next piece of advice is bringing your own food to Norway. Things are crazy expensive, especially once you travel north to the islands of Lofoten. Plus, the food options were not exactly delicious. Luckily for Emily and I, a friend had warned us saying that he ended up eating PB&J’s from the gas station almost every day to survive. Not keen to follow his example, we stocked up on Mountain House and trail bars. Best decision we could’ve made. This isn’t to say we never ate out, but the occasional $30 meal or $11 beer was a treat, for sure.
Lastly, Norway has an incredible rule called “allemannsretten” which roughly translates to the “Right to Roam.” This means that aside from a few restrictions, camping is allowed basically everywhere. Forget paying for accommodation! Bring your overnight gear and the backcountry is your proverbial oyster. Don’t forget the rain cover and a comfy sleeping pad.
Itinerary Breakdown
Day One - Travel from Bodø to Moskenes
Our very first night to Bodø was after nearly 20hrs of traveling and we didn’t arrive to the quiet, sleepy town until after midnight. Therefore, the journey of the dirtbag began by sleeping on the floor of the ferry terminal. To our surprise, we were not alone! A congregation of individuals waiting to catch the early morning boats were all sprawled across the rocky tile, cooking meals with propane, and snoring peacefully as others strolled by.
Once 3am hit the next day, we were on the first boat out to the islands! A roughly three-hour crossing, we spent most of the ride gazing at the incredible views and drinking as much coffee as possible to prepare ourselves for a long day.
From the Moskenes ferry terminal, there is a pedestrian path walking all the way to the town of Reine. The walk is roughly three miles and is a gorgeous coastline stroll that puts Big Sur in California to shame. Reine served as our central basecamp for the rest of our adventure. It was here that we were able to find propane for our stove, scarf down some cheap $5 gas station sandwiches at the Circle K, and even a couple of bars and cafes for when we felt like spoiling ourselves with a beer and French fries.
Once our necessary items were gathered, we snuck to the outskirts of town and found a secret, well-protected spot to serve as our basecamp. We set up and called it a day, preparing our bodies for tomorrow’s first adventure.
Mileage: 6-7
Elevation: Easy
Day Two - Munkebu Hut
Emily and I decided that it would be ridiculous to try and hike with both of our duffel bags (we had packed two medium bags to avoid having to pay to check luggage on the flights.) Therefore, we stashed our unnecessary gear in the bushes of our basecamp.
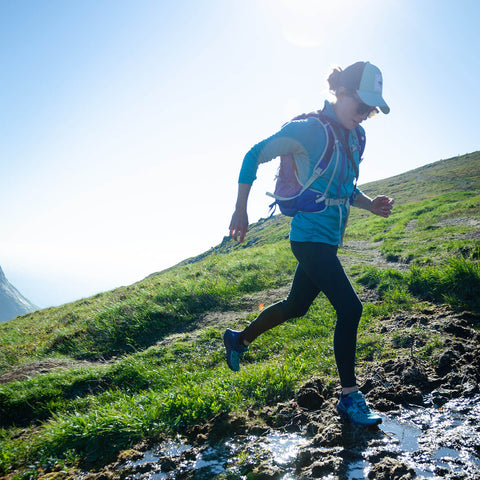 Inside our tiny 20L bags we managed to condense our sleeping bags, sleeping pads, stove with propane, a few Mountain House meals, water purification tablets, a change of clothes, and our ultralight tent. Once the straps were cinched down, the packs fit surprisingly well and were small enough that we were able to move without too much annoying bouncing, allowing us to run the two and a half miles from Reine to the trailhead for Munkebu Hut.
While our original intention was to continue running on the trail, we were quick to learn that the trail was not quite as maintained as we would’ve liked. Whether it was due to early season conditions or increased use, the path was muddy and rutted. Scrambling was necessary for the first mile and a half around the lake with the constant sound of my foot squishing through ankle-high swamp trail.
Needless to say, we ended up hiking instead of running. The path led along a gorgeous inlet of turquoise blue water with waterfalls cascading into the basin. Once around the blue pool, we began our ascent of a mountain pass which we were told gains roughly 2,000ft in two miles. The journey didn’t feel as though it took too long, but that’s probably due to the fact we stopped and played often. From a waterfall shower and soak to gawking at the incredible views, at no point were we not enthralled with the experience.
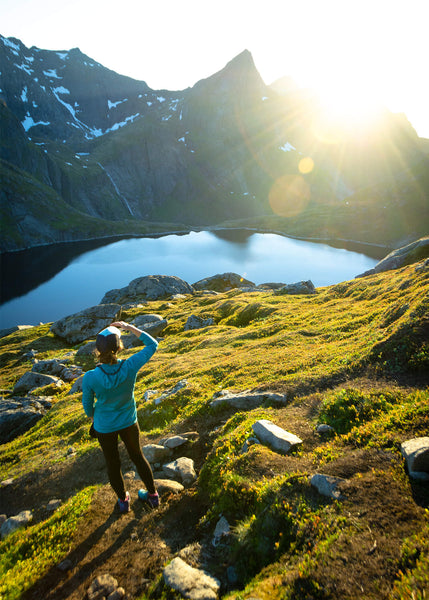
At the top of the pass, we could see Munkebu Hut. In Norway, there is an incredible system of backcountry huts. However, one must be a member in order to gain access. The member fee is an annual due and then each hut has an additional cost for use per night. When we researched the option, the member fee was $80 and hut reservations were between $50-60 per night. Not really a budget-friendly option. Therefore, Emily and I found a smooth rock platform across the tiny alpine lake from the hut and set up our own little cowboy camp instead! Same views, at no cost.
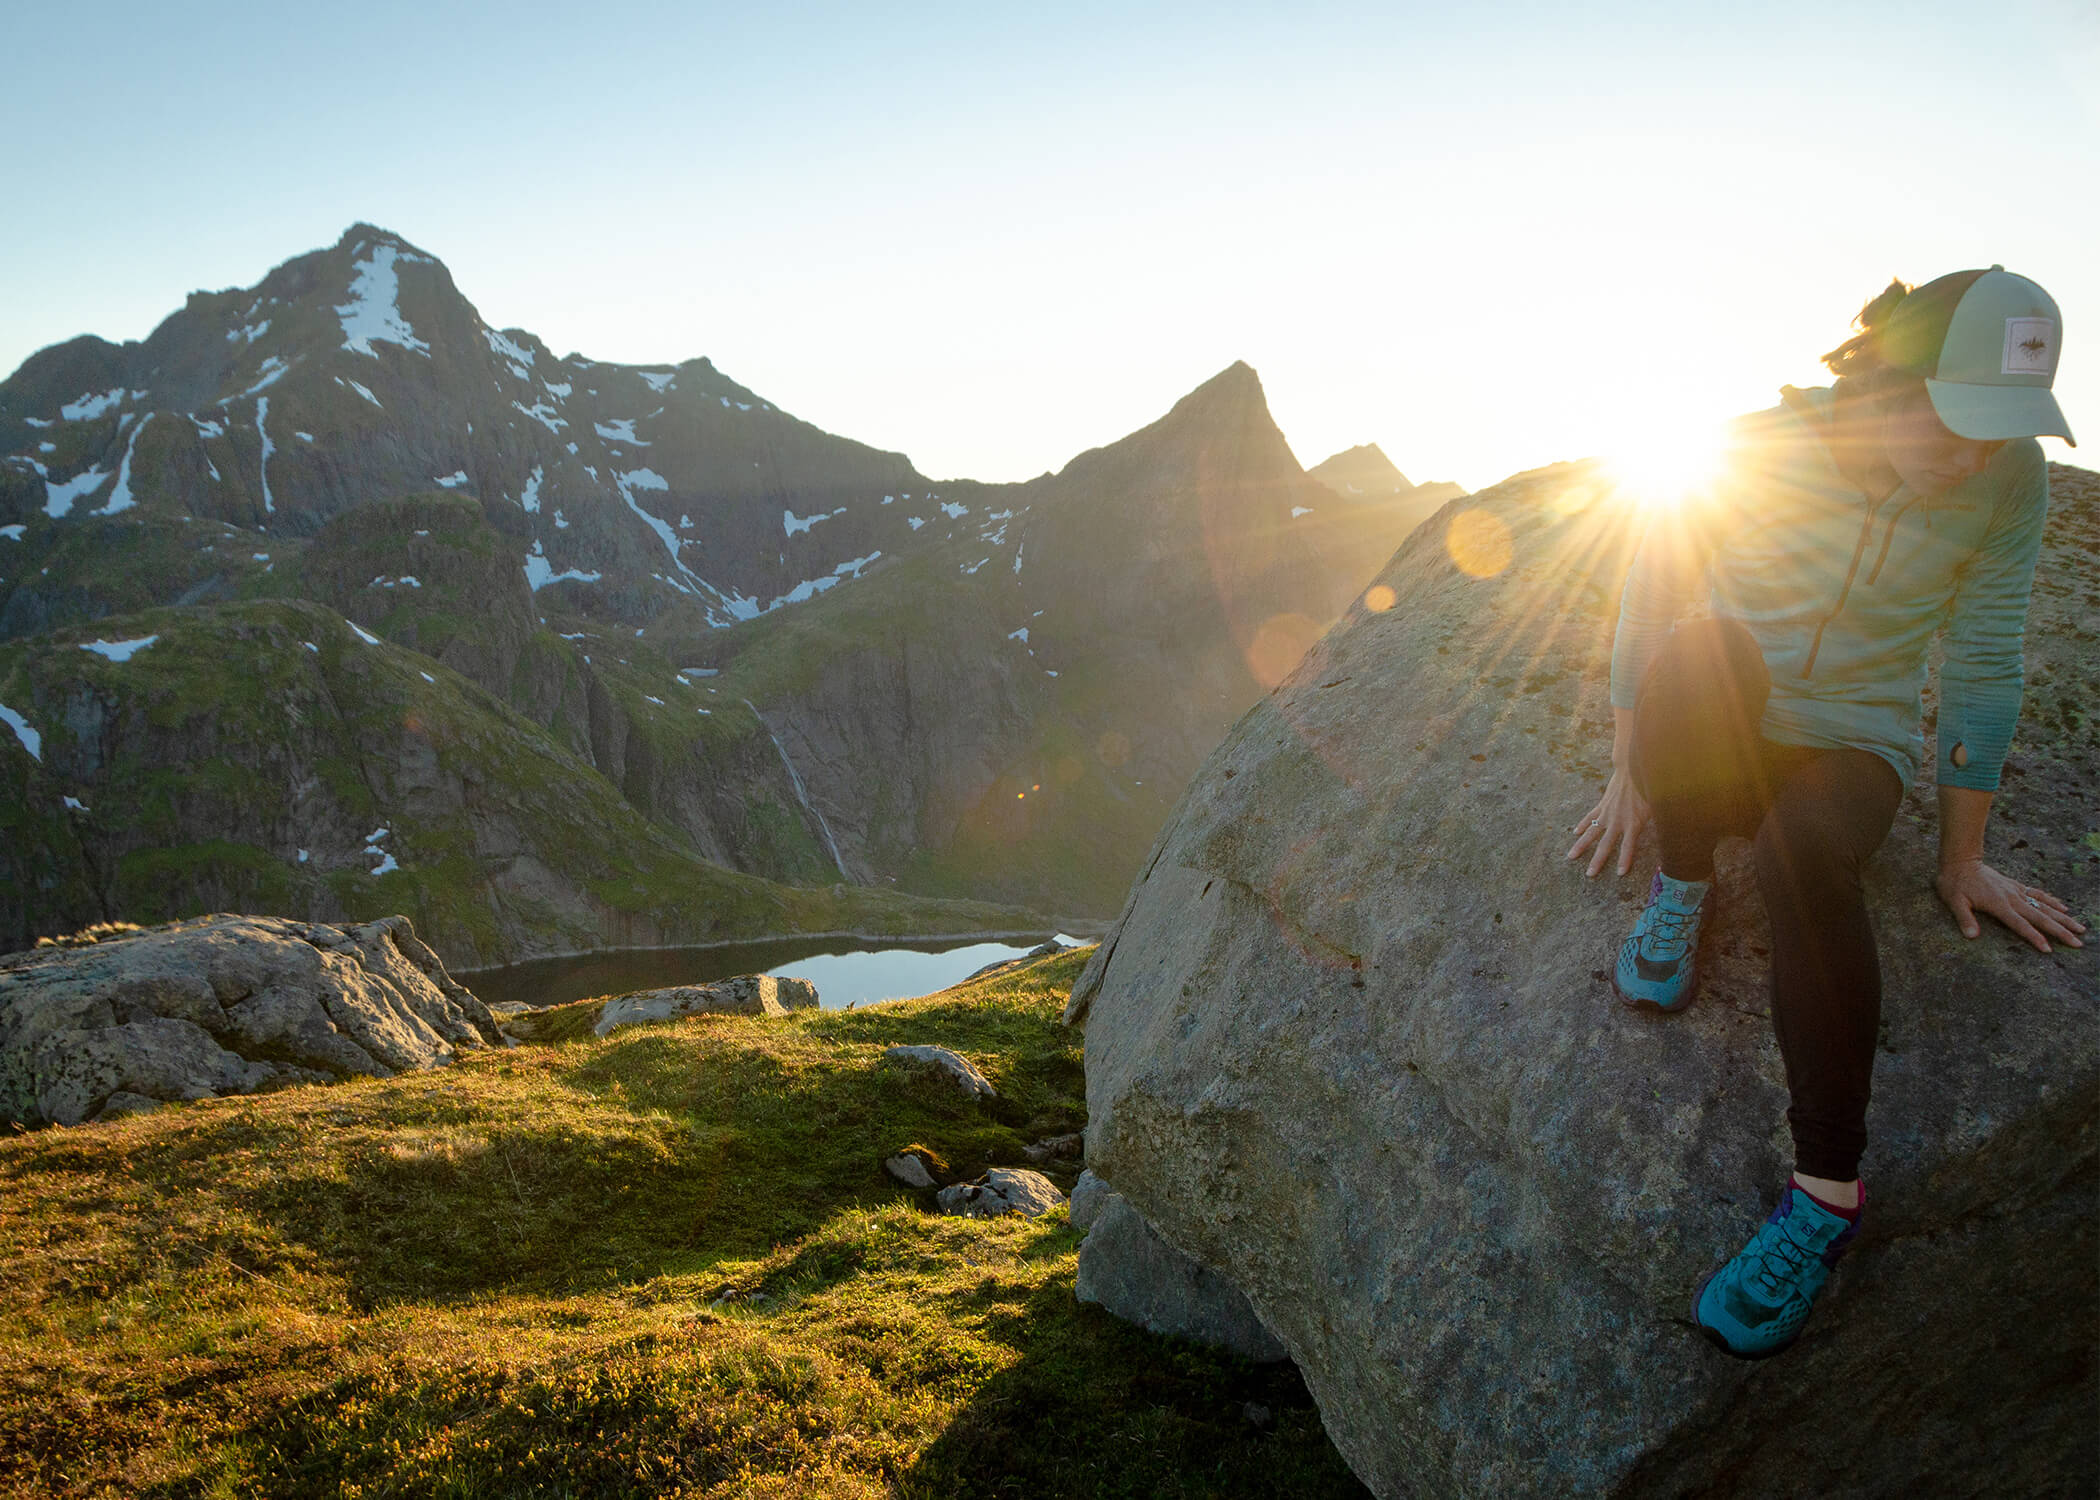
After stuffing our faces with food and taking a short nap, we awoke around 11pm for a Midnight Sun run to explore the higher trail systems and discover the four surrounding lakes of the area. The darkest it got was about 1am and even then, the landscape bathed in golden glow.
Mileage: 6 -7
Elevation: Moderate
Day Three - Munkebu + Klavika Beach
From Munkebu, we hiked back to the trailhead and proceeded to run back to our basecamp. We replenished our ultralight packs with fresh clothes and more food and immediately ran into Reine. A local bus departs from the parking lot of the Circle K to what is called the Fredvang intersection. Costing only about $8 for a 30-minute drive, we decided this was a better option than trying to run the 18 miles.
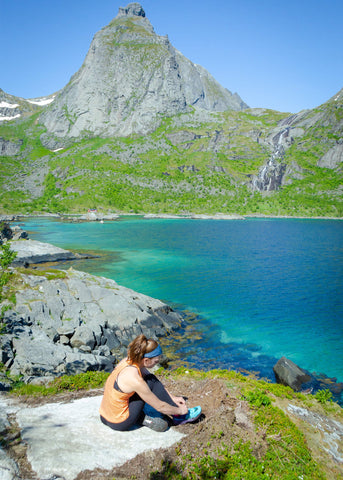 Once the bus dropped us at the intersection, we walked about four miles along another scenic road to the trailhead for Kvalvika Beach. Once at the trailhead, the hike itself was significantly easier and shorter than Munkebu. Only about two miles long, it is one of the most popular hikes in the region and is maintained with boardwalks over the muddy sections. A local friend had warned us that the East side of the beach is incredibly crowded so suggested we continue hiking over a rocky beach outcrop to the West side for more seclusion. So, trusting the locals, we climbed over the formidable section following a system of ropes and chains to help with the slick scramble. Once on the grassy knoll of the quiet side, we set up camp and passed out.
Mileage: 13-14
Elevation: Moderate
Day Four - Kvalvika Beach + Ryten Hike
While we appreciated the recommendation from our local friend, we were quick to learn that the quiet side was more secluded for a reason - it is constantly in the shade! Shivering, we were not keen on getting out of our sleeping bags until the sun could thaw us. Finally, around 10am, it broke over the towering peaks encompassing our tent and we began our day.
We decided to change sites to the sunny side. Scrambling once again along the chain and rope system, we emerged and found a new site which was at the base of our next hike: Ryten.
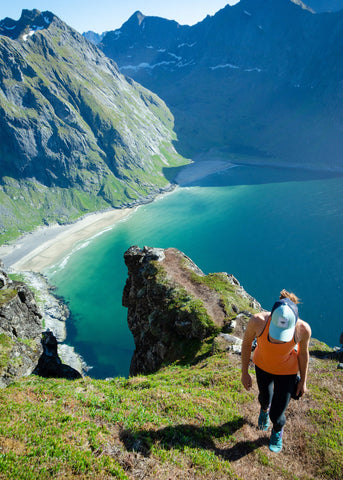 A towering cliff face jutting directly from the Arctic Ocean, Ryten is unmistakable and intimidating. The fact that we woke up the night before to thunderous rock fall from the face also didn’t lead me to particularly trust it. Yet the trail itself traverses up a well-protected pass and then crawls over the backside of Ryten, far away from any possible crumbling edges. Though short, this hike is very steep!
Once at the top of the pass, we uncovered yet another lake and an entire system of fun trails. In no rush and with plenty of daylight, Emily and I explored all the incredible views the hike has to offer. From mountains to islands, lakes to ocean, everything was seen from this one incredible vantage point.
Floating on adventurous euphoria, we eventually made our way back down to camp and for the first time dipped our toes in the Arctic Ocean. Shockingly not as cold as expected, we splashed our faces in the refreshing water and laid in the evening sun for a little Norwegian tanning.
Mileage: 8 - 9
Elevation: Short but intense
Day Five - Back to Reine
Feeling a bit tired from the previous days, we decided to simply hike out and walk back to the Fredvang intersection to catch the bus back to Reine and call it a day. Once in town, we spent most the day eating cake at a local coffee shop and drinking a few beers. That night, we slept once again at our secret basecamp.
Mileage: 7 -8
Elevation: Easy
Day Six - Half Marathon Run
We awoke to our first day of rain! Which, given the typical weather patterns of the islands, sounds like we were pretty lucky up until this point. Having had a rest day the previous day, we weren’t keen on doing nothing again. Yet the trails were so muddy and slick on sunny days, safety during a rainstorm was also a concern. Finally, we came up with an idea - let’s road run!
There is an adorable fishing town on the southern tip of the island called Å. There were no particular hikes nearby that encouraged us to check out the village, but in itself the scene looked adorable. At roughly six miles each way, we decided to make up our own half marathon. The run follows the E-10 highway the entire time and passes by the ferry terminal we arrived at, as well as other small picturesque towns. Though it was pouring rain, the run helped us, and I remember laughing while saying, “the faster we run, the warmer we will be!”
Mileage: 15-16
Elevation: Easy
Day Seven - Back to Bodø
Originally, we hoped to do one final hike called Tindstinden. Another short and intensely steep option, the trailhead begins incredibly close to the ferry terminal. However, we awoke to another cloudy and rainy day where no views were readily available to motivate us to do a slog. So, our adventure in Lofoten came to an end. We took the ferry back to Bodo for one last night of ferry terminal sleeping before stuffing our faces with beer and food in Oslo.
Mileage: 6-7
Elevation: Easy
By the end of our trip to Lofoten, Emily and I managed to spend $15-18/day in one of the most expensive regions of Europe with this itinerary.
Best of luck, fellow Dirtbags.
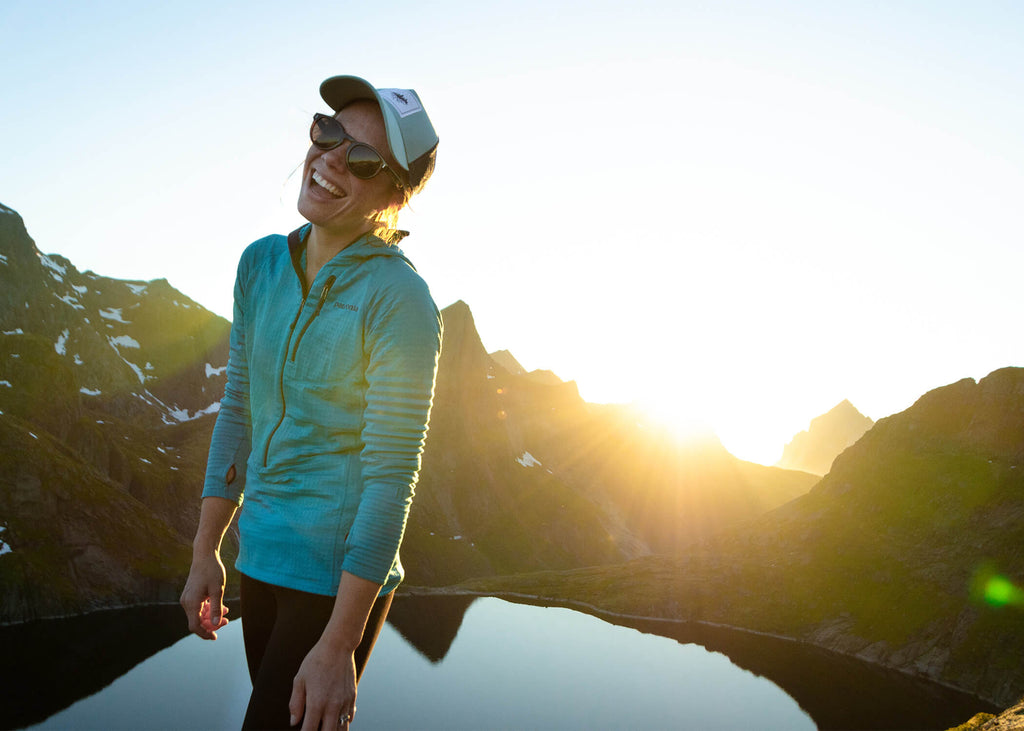
Photo Credit: Brooke Jackson, @WanderingTrailsMedia
Must-Have Turtle Fur Hiking Accessories:
For related topics, see the articles below:

